DIY Time Capsule: Burying Memories & Future You Will Love!

Blast from the Past: Creating a Time Capsule That Matters
Remember that feeling of opening a box filled with old photographs and letters? It’s like stepping back in time, isn't it? A time capsule is more than just a box; it's a treasure chest of memories, a message from your past self to your future self (or even future generations!). It's a tangible link to your life right now, capturing the essence of who you are, what you love, and what life looks like at this very moment. Ready to embark on this fun, nostalgic journey? Let's dive in and learn how to build a time capsule that will make future you absolutely beam!
Step 1: Planning Your Temporal Expedition
Before you start stuffing a box with everything you own, let's get organized. This is where the magic (and longevity!) of your capsule begins. Consider these questions:
- Who is this for? Is it just for you? Your family? Future generations? This will influence what you include.
- When will you open it? 5 years? 20 years? The longer the wait, the more careful you need to be with preservation.
- Where will it be buried (or stored)? Location matters! Think about climate, potential for damage (water, pests), and accessibility. A dry, stable environment is key.
- What's your budget? Time capsules can be budget-friendly, or you can go all out!
Example: My family created a time capsule when my youngest daughter turned 5. We decided to open it on her 18th birthday. We chose a spot in our backyard that was safe from flooding and easy to access. We kept it simple and focused on heartfelt items, making the experience memorable without breaking the bank.
Step 2: Choosing Your Container: The Vault of Your Memories
The container is your time capsule's fortress. You need something durable that can withstand the test of time (and the elements!). Here are some options:
- Plastic Containers: Durable, waterproof, and relatively inexpensive. Opt for food-grade plastic to avoid chemical reactions with your items. Make sure it's airtight!
- Metal Containers: Metal is strong and can last a long time, but be mindful of rust. Choose a container made from stainless steel or another rust-resistant metal. Consider lining it with a layer of plastic for extra protection.
- PVC Pipes: A great, inexpensive option, especially for burying. Seal the ends tightly with waterproof caps and consider using a sealant.
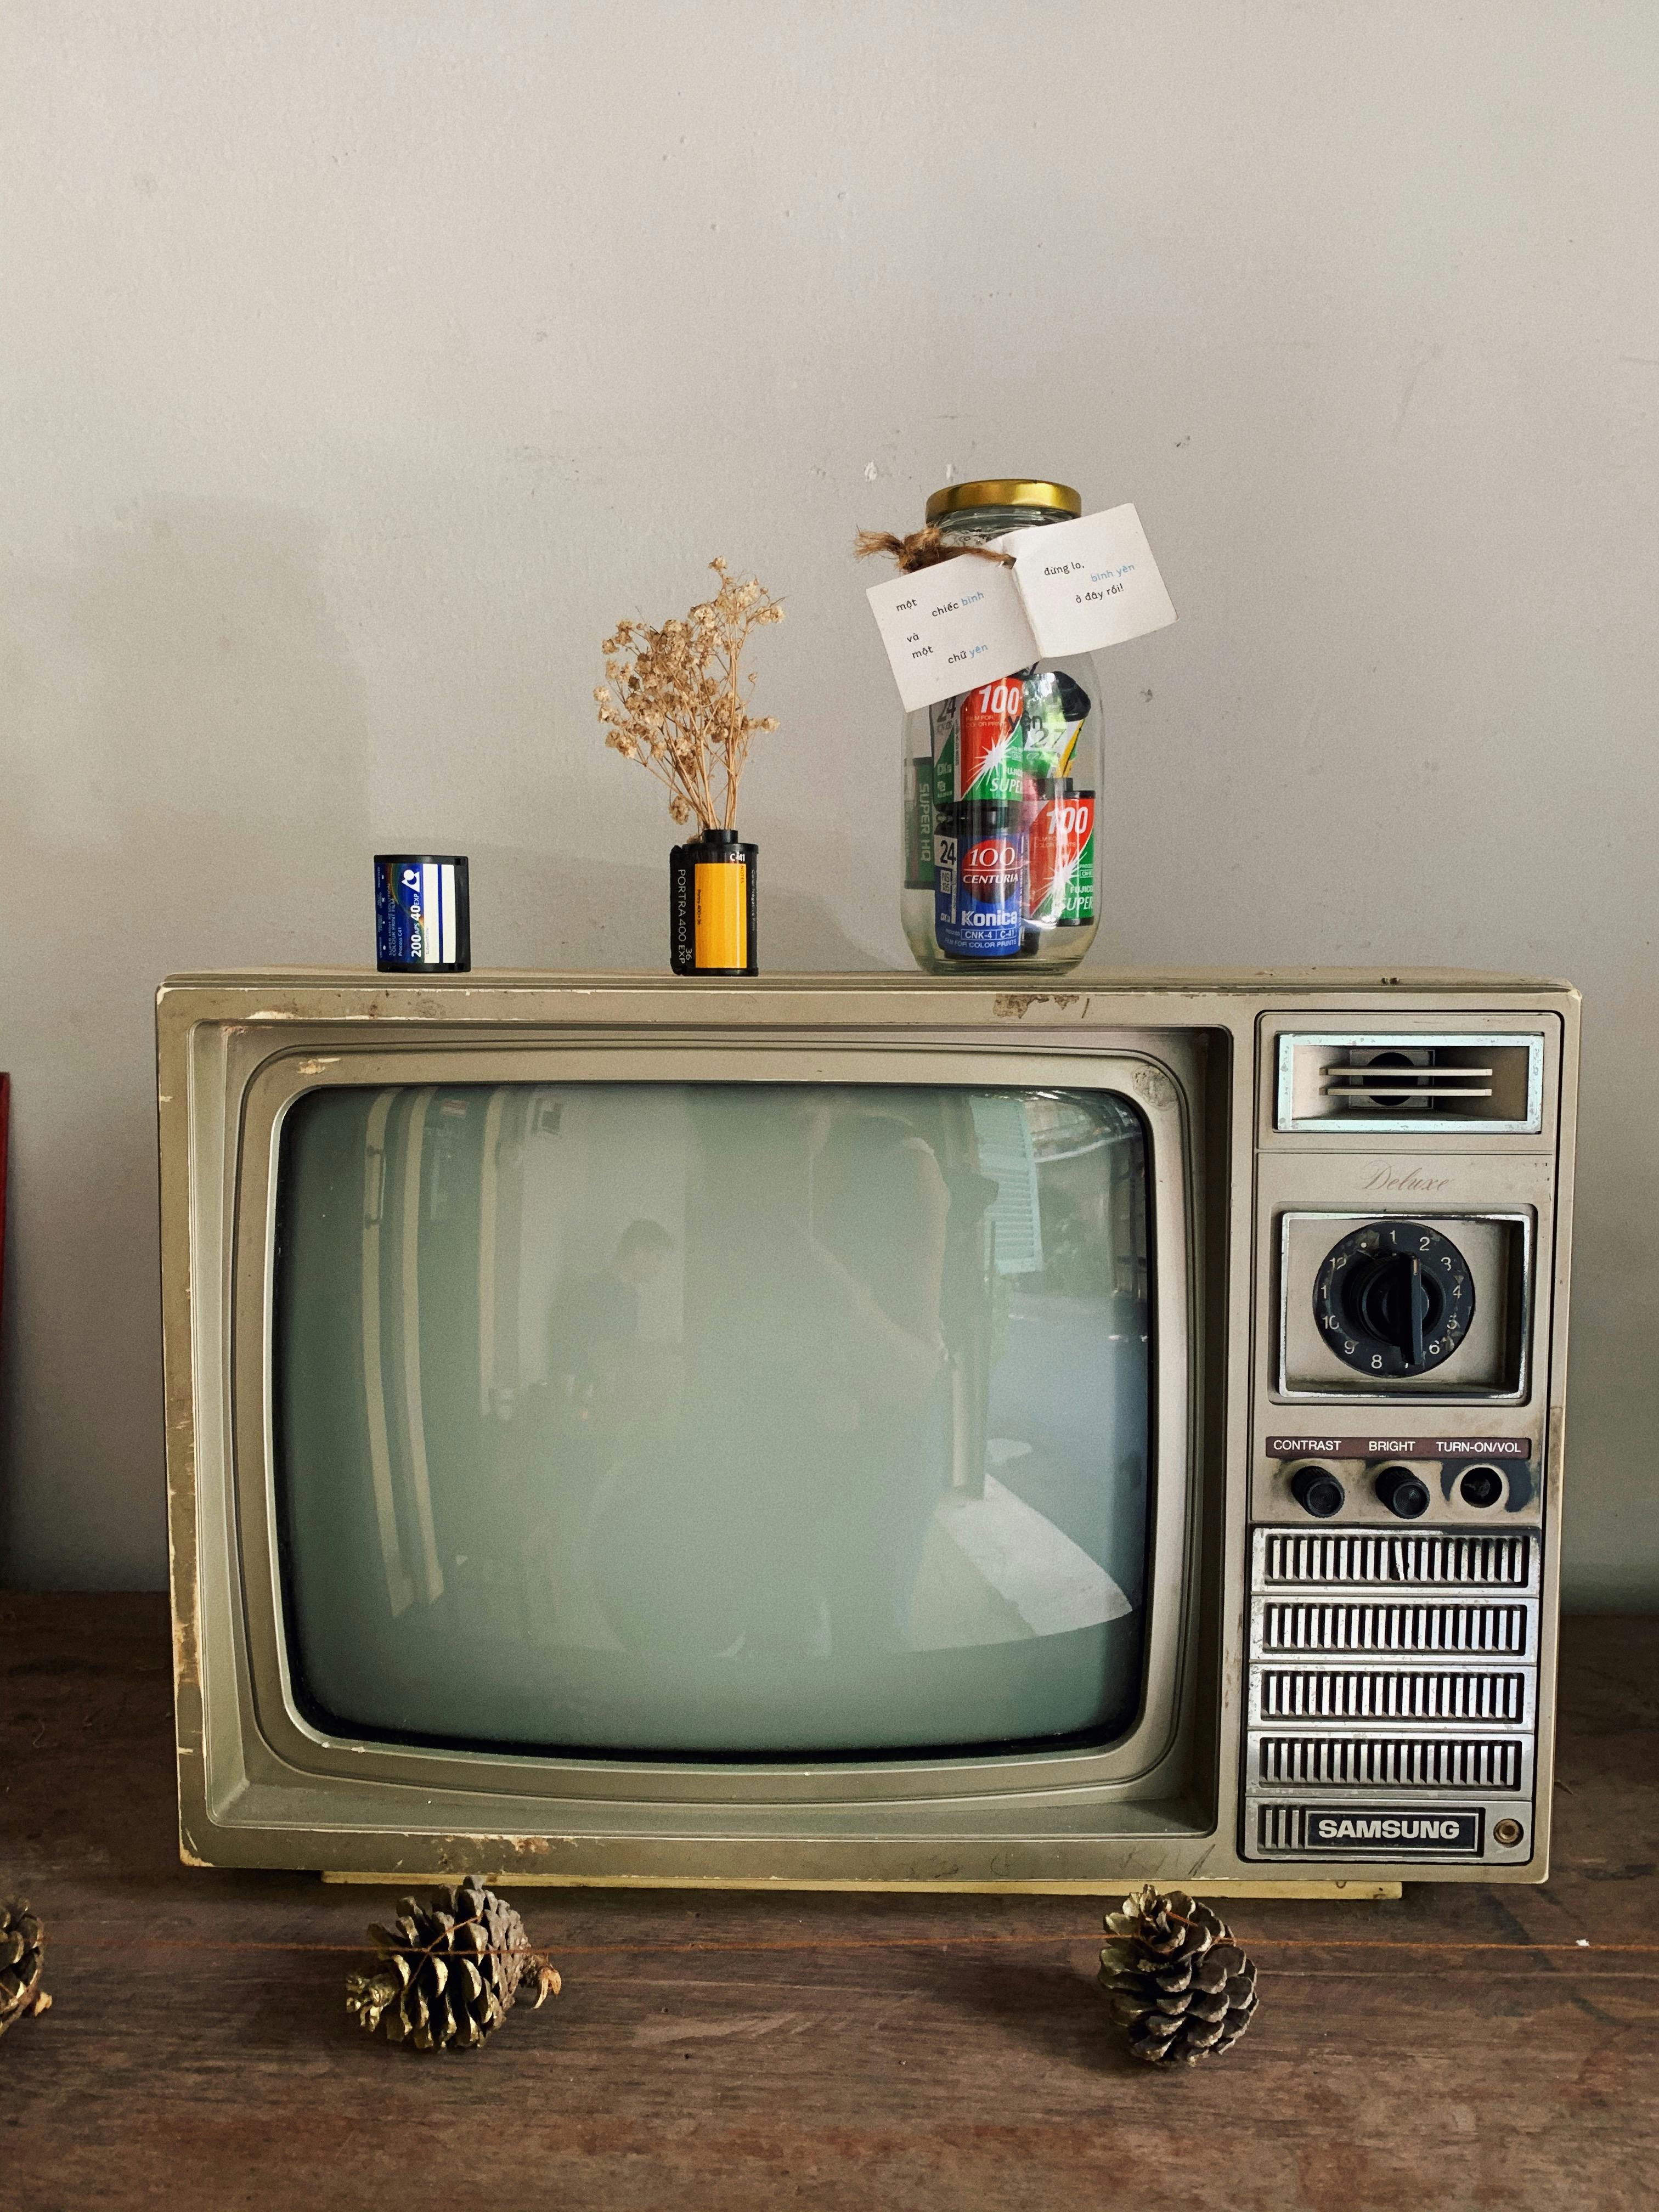
- Glass Jars: Aesthetically pleasing, but fragile. Choose thick glass jars and wrap them carefully before burying, or consider storing them indoors.
No matter what you choose, make sure it's sealed airtight to prevent moisture and air from damaging your precious cargo. Consider adding a desiccant (like silica gel packets) to absorb any remaining moisture. This is crucial!
Step 3: Curating Your Collection: What to Include
This is the fun part! Think about what best represents your life right now. Here are some ideas to get those creative juices flowing:
- Letters to Your Future Self: Write about your hopes, dreams, fears, and observations about the world. This is the cornerstone of any time capsule!
- Photos: Print physical photos! Digital files can become obsolete. Include photos of family, friends, pets, your home, and your everyday life.
- Personal Writings: Diaries, journals, poems, short stories – anything that captures your thoughts and feelings.
- Objects That Tell a Story: A favorite book, a concert ticket stub, a piece of jewelry, a childhood toy. These items evoke powerful memories.
- Current Events: Newspapers, magazines, flyers, and brochures. These provide a snapshot of the world at the time.
- Clothing: A favorite t-shirt, a hat, or a pair of socks. This is a great way to capture the fashion of the era (and maybe get a laugh!).
- Technology (with caution!): A flash drive with digital photos and videos, or a CD with your favorite music. Be aware of file format obsolescence. Consider including instructions on how to access the files!
- Audio Recordings: Record your voice, or the voices of your loved ones, sharing memories and messages.
- Artwork: Drawings, paintings, or other creative endeavors.
- Recipes: Your favorite family recipes – a delicious way to remember your culinary tastes!
- Price Guides: To see how much things cost in the present!
Example: When we made our family time capsule, we included letters from each family member, photos, a favorite book of my daughter's, a newspaper from the day she was born, and a small, hand-drawn picture. We also included a CD with her favorite music at the time.
Step 4: Preservation Tips: Keeping Your Memories Alive
Protecting your items is crucial for their survival. Here are some preservation tips:
- Photographs: Use acid-free photo albums or archival-quality paper. Avoid direct sunlight and extreme temperatures.
- Paper Documents: Use acid-free paper and archival-quality pens. Store documents in acid-free sleeves or folders. Consider photocopying original documents for an extra layer of protection.
- Textiles: Wash and dry clothing thoroughly before placing it in the capsule. Store textiles in acid-free tissue paper.
- Food Items: Avoid perishable food items. If you want to include food-related items, consider packaging (sealed, non-perishable) and labeling.
- Electronics: Remove batteries from electronic devices to prevent corrosion.
- Humidity Control: Use desiccant packs to absorb moisture.
- Choose Archival Quality: Whenever possible, use archival-quality materials, such as paper, ink, and photo albums.
Step 5: Sealing and Storing Your Time Capsule
Before you seal your container, take these final steps:
- Inventory: Create a detailed inventory of everything you've included. Keep a copy of the inventory separate from the capsule, in a safe place.
- Labeling: Clearly label your time capsule with the opening date, your name(s), and any important instructions. Use waterproof ink.
- Seal It Up: Carefully seal your container, ensuring it is airtight and watertight. Use a sealant if necessary.
- Location, Location, Location: Choose a safe and secure location. If burying, dig a deep enough hole to protect it from the elements. Mark the spot clearly and document the location. If storing indoors, choose a cool, dry, and dark place.
Step 6: The Grand Unveiling: Opening Your Capsule
The anticipation is half the fun! When the opening date arrives, gather your friends and family and prepare to be transported back in time. It's a fantastic opportunity to reminisce, share memories, and reflect on how much life has changed. Document the opening with photos or videos to share the experience with others.
Actionable Takeaways: Get Started Today!
Creating a time capsule is a rewarding project that allows you to capture a moment in time and create a lasting legacy. Here's a quick recap to get you started:
- Plan Ahead: Decide who it's for, when to open it, and where to store it.
- Choose Your Container Wisely: Select a durable, airtight container.
- Gather Your Treasures: Include items that represent your life today.
- Preserve Your Memories: Take steps to protect your items from damage.
- Seal and Store: Seal your container and choose a safe location.
- Enjoy the Journey (and the Reveal!): Have fun creating your time capsule and sharing the experience with others.
So, what are you waiting for? Start gathering your memories and create a time capsule that will delight future you! You'll be so glad you did.
This post was published as part of my automated content series.